 how-to
How to Measure for Outside Mount Blinds: 2026 Guide
Table of Contents
- What Is an Outside Mount and Why Measure Carefully
- Blind Measuring Tools You Actually Need
- Step 1: Measure Window Width for Outside Mount Blinds
- Step 2: Measure Window Height and Check Mounting Surface
- How Far Blinds Should Extend Beyond the Window Frame
- Measuring for Outside Mount Cellular Blinds: Special Considerations
- Common Measuring Mistakes That Cause Light Gaps
- Conclusion: Measure Twice, Order Once
- Frequently Asked Questions
Last Updated: October 5, 2026
What Is an Outside Mount and Why Measure Carefully
An outside mount is a window treatment installed on the wall or window trim, outside the window opening.
That overlap is why measuring matters: get it wrong and you get light gaps, a blind that won't fit, or brackets that won't hold.
Measuring for outside mount blinds takes about 10 minutes per window once you know the steps.
U.S. Department of Energy guidance on window treatments and energy efficiency
Blind Measuring Tools You Actually Need
You need fewer tools than you think. A steel tape measure is the only must-have.
Here's the full list:
- Steel tape measure (25 feet is ideal, not a cloth tape)
- Pencil and paper or a measurement worksheet
- Step stool or ladder for tall windows
Skip the cloth sewing tape. It stretches, and stretched tape means wrong numbers.
Measure to the nearest 1/8 inch; anything less precise causes problems when the blind is cut to size.
Step 1: Measure Window Width for Outside Mount Blinds
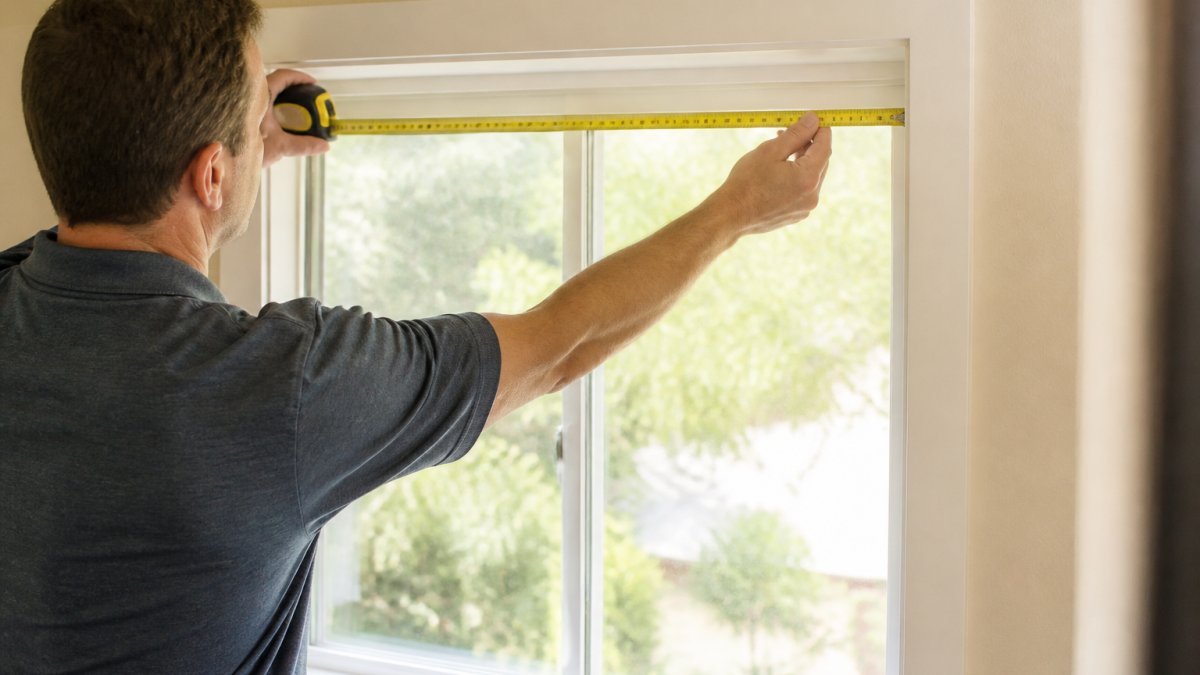
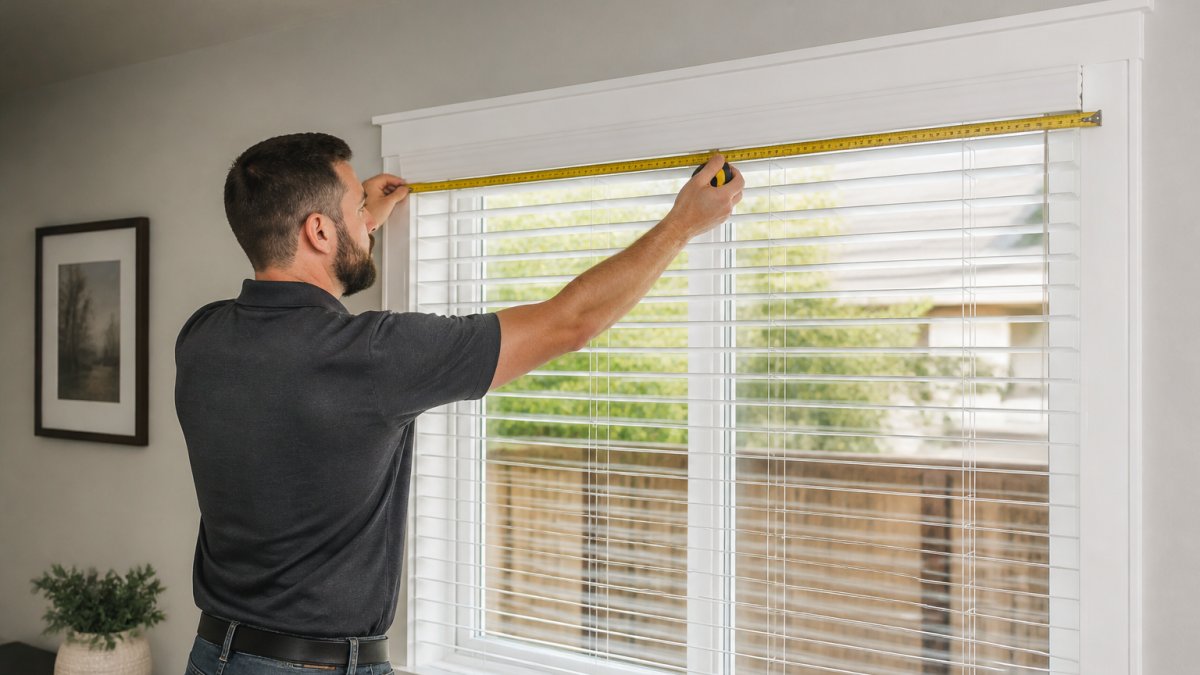
Measure the width of your window opening at three points: top, middle, and bottom. Use the widest measurement, then add your overlap.
Why the widest? Because outside mount blinds sit on the wall or trim, not inside the opening. The blind needs to clear the widest point of the frame.
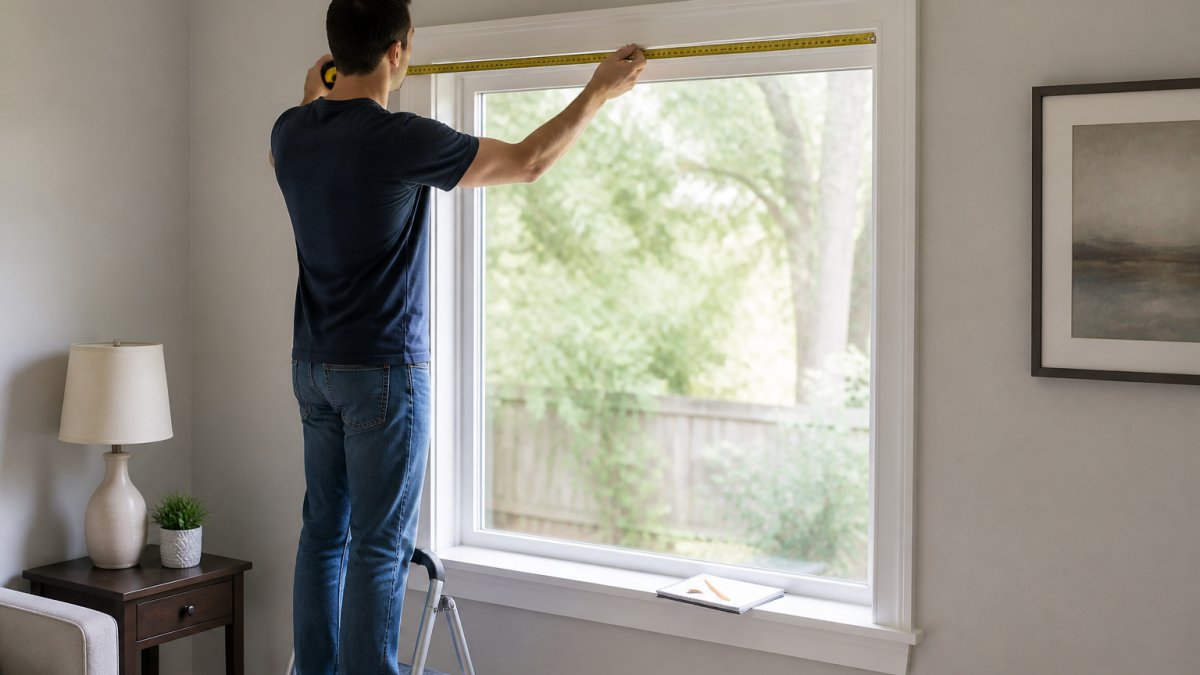
Recording Top, Middle, and Bottom Measurements
Write down all three numbers. Don't round or average them.
If the top measures 36 inches, the middle 36 1/4 inches, and the bottom 35 7/8 inches, your widest measurement is 36 1/4 inches. That's your starting point.
Uneven windows are common, especially in older homes. That's exactly why you measure at multiple points.
Step 2: Measure Window Height and Check Mounting Surface
Height is where outside mount measuring gets interesting: you measure from where the headrail will sit down to where you want the blind to end. Decide the headrail position first; it drives every number that follows.
Picking the Mounting Position
For an outside mount, the headrail can sit in one of three places:
- On the wall above the window trim
- On the face of the trim itself
- On the wall beside the window, if the trim is too narrow for the brackets
Each position changes the height measurement: mounting on the wall above the trim puts your top reference point higher than mounting on the trim face. Pick the position, mark it lightly with a pencil, then measure from that mark.
Measuring Height at Three Points
Measure from your top reference mark down to the sill or desired bottom point on the left, center, and right. Use the longest measurement, because the headrail must clear the highest point of the opening: if the left is 48 inches and the right 48 1/2 inches, a 48-inch blind leaves a gap at the bottom right.
Checking Bracket Clearance and Hardware
Bracket clearance is the space between the mounting surface and anything that could block the blind, the step most homeowners skip and the one that causes the most returns. Check these before finalizing your numbers:
- Headrail depth. Measure how far the headrail projects from the mounting surface. A 2-inch horizontal blind headrail projects roughly 2 to 2.5 inches. A cellular headrail is similar. A roller tube is slimmer, around 1 to 1.5 inches. That projection is the space the blind will occupy.
- Bracket dimensions. Brackets have a base plate and an arm that holds the headrail. Measure the bracket's depth from the wall to the front of the arm. If the bracket is deeper than the headrail, the bracket sets the clearance.
- Window handles. Casement and awning windows have cranks or handles that stick out from the frame. Measure how far the handle projects. If it projects 2 inches and your headrail projects 2 inches, the blind will hit the handle when you open the window. Add the handle projection to your clearance.
If you find an obstruction, you have three choices: mount the brackets further out, shift the mounting position up or sideways, or choose a slimmer product. Each changes your measurements, so resolve obstructions before writing down final numbers.
Uneven Surfaces and Out-of-Square Openings
Older homes rarely have square windows or flat walls. Two problems show up often:
- Out-of-square openings. The top and bottom are not parallel, or the sides are not plumb. That's why you measure width and height at three points, the widest width and longest height are your governing numbers.
- Uneven trim or sloped sills. If the trim is not flat, a bracket mounted on it will not sit flush. Run a level along the trim; if it rocks, mount on the wall instead or shim the bracket. A sloped sill barely affects outside mount height because the blind hangs in front of it, but it does affect where the bottom should end. Pick a bottom point that looks level from inside the room, not one that follows the sill.
Choosing a Consistent Reference Point
The most useful habit for outside mount measuring is to pick one reference point and use it for every window in the house. Measure one window from the top of the trim and the next from the wall above it, and your blinds will hang at different heights even if the numbers are correct. Mark the reference point on each window with a pencil dot, measure from that dot every time, and install the brackets on that dot.
Once your height numbers and clearance checklist are set, add your overlap and finalize the order.
How Far Blinds Should Extend Beyond the Window Frame
Add 1.5 to 3 inches to each side of your widest width measurement. That's your overlap, and it blocks light from sneaking around the edges.
For height, add 2 to 4 inches above the window opening and 1 to 2 inches below the sill.
Here's a quick reference:
| Goal | Side Overlap | Top Extension | Bottom Extension |
|---|---|---|---|
| Basic light control | 1.5 in each side | 2 in | 1 in |
| Better privacy | 2 in each side | 3 in | 1.5 in |
| Maximum coverage | 3 in each side | 4 in | 2 in |
More overlap means less light gap but more covered wall space, so consider how it will look before you go wide.
Measuring for Outside Mount Cellular Blinds: Special Considerations
Every blind type has its own headrail depth, stacking behavior, and ordering conventions, and treating them all the same is how homeowners end up with a blind that won't fit the brackets they bought. Here's how the major product families differ for an outside mount.
Cellular (Honeycomb) Blinds
Cellular blinds need more room than horizontal blinds: the honeycomb cells stack when raised, and that stack needs top clearance. Measure your mounting surface depth, cellular blinds typically need at least 2 inches of flat surface for the headrail. Also check for window cranks or casement handles, deep trim that changes the mounting plane, and cordless lift mechanisms that need extra headroom.
Roller Blinds
Roller blinds are the most forgiving outside mount product because the fabric rolls onto a slim tube rather than stacking in a headrail, but the tube adds depth, typically 1 to 1.5 inches in diameter, so the bracket needs that much clearance. Two roller-specific rules matter:
- Roller blinds are usually ordered by the exact width you want the shade to be, not the window width. The overlap you add becomes part of the finished shade, so add your side overlap before you write the number down.
- Roll direction changes the drop. A standard roll drops behind the tube; a reverse roll drops in front. Reverse roll is common for outside mount because it pushes the fabric closer to the window, reducing the light gap at the sides. Confirm which roll direction your product uses before finalizing the height.
Horizontal Blinds (Wood, Faux Wood, Aluminum)
Horizontal blinds have the deepest headrail of the common products: a 2-inch slat blind typically has a headrail around 2 to 2.5 inches deep, and a 2.5-inch slat blind can run closer to 3 inches. That depth matters for outside mount because the headrail sits proud of the wall. Horizontal blinds also have a valance that covers the headrail and adds height above it, so if you're mounting tight to a ceiling or cabinet, account for the valance in your top extension.
Vertical Blinds
Vertical blinds are measured differently from every other product here because the vanes travel sideways, not up and down. For an outside mount, you measure the width of the track, not the fabric stack.
- Width: measure the opening at three points and add overlap on each side, same as other products. The track needs to be at least as wide as the finished coverage you want.
- Height: vertical blinds are usually ordered by vane length, the drop from the track to the bottom of the vanes. Measure from where the track will mount down to your desired bottom point.
- Stacking: vertical vanes stack to one side or split to both sides. If they stack to one side, that end needs clear wall space, measure it before you commit.
The Rule That Applies to All of Them
Every manufacturer publishes its own ordering rules, and those override general advice. Some brands want exact finished dimensions, some want the window opening and make the deductions themselves, and some add a standard overlap automatically. Before ordering, find the product's measuring guide on the seller's site and read the outside mount section. Look for three things:
- Whether you submit finished dimensions or the window opening
- Whether the seller adds or subtracts any allowance
- Whether the headrail depth requires a minimum mounting surface
If the guide is unclear, call or message the seller and get the answer in writing. A five-minute question is cheaper than a remake.
If you're not sure which product fits your window, our team can walk you through the specifics for your window style.
Common Measuring Mistakes That Cause Light Gaps
The number one mistake is measuring the window opening instead of the frame. Outside mount blinds go on the frame or wall, so that's where your numbers come from.
Other frequent errors:
- Using a cloth tape that stretches
- Measuring only one spot instead of three
- Forgetting to account for window handles
A measurement worksheet helps: note the window location, width and height at three points, overlap added, and any obstructions, and keep it with your order.
Conclusion: Measure Twice, Order Once
Getting outside mount blinds right starts with careful measuring.
If that sounds like a lot of steps, it is. That's why many homeowners hand the job to us.
Towersunitedblinds offers custom roller, wooden, cellular, and Roman shades tailored to meet your unique aesthetic and functional needs.
Call us today to schedule your measurement and get blinds that fit right the first time.
Frequently Asked Questions
How much gap should you leave for outside mount blinds?
For outside mount blinds, you typically add 2 to 4 inches to the window opening width so the blinds extend past the frame on each side. This overlap covers the window opening and reduces light gaps. For height, add 2 to 3 inches above the opening and extend 1 to 2 inches below the sill. The exact overlap depends on your window trim and how much light control you want.
Should outside mount blinds extend beyond the window frame?
Yes. Outside mount blinds are designed to sit on the wall or trim above and around the window opening, not inside it. Extending beyond the frame on all sides is what makes outside mount blinds effective at blocking light and providing privacy. If the blinds sit flush with the frame edge, you will see light gaps along the sides and top.
Do you add extra width when measuring for outside mount blinds?
Yes, you add extra width to your window opening measurement. A common rule is to add 2 to 4 inches total, meaning 1 to 2 inches on each side. This extra width ensures the blinds cover the entire opening and overlap the wall or trim. Always measure the window opening first, then add your overlap to get the finished blind width.
What tools do you need to measure for outside mount blinds?
You need a steel tape measure, a pencil, and paper or a notepad. A step stool helps you reach the top of tall windows safely. A level can confirm your mounting surface is even. Avoid cloth tape measures because they stretch and give inaccurate readings. Record every measurement to the nearest 1/8 inch and label each window clearly.