 how-to
How Do You Measure Non-Standard Windows?
Last Updated: November 1, 2026
Quick Summary
To measure non-standard windows, measure the width and height in three places each and use the smallest number, rounding down to the nearest 1/8 inch. Irregular shapes like arches, triangles and bays need extra steps, such as capturing angles and tracing a template.
- Mark each measurement point with painter's tape so every reading comes from the same spot.
- Measure width at the top, middle and bottom, and height at the left, center and right.
- For arched windows, record the full width, center height and the spring line where the curve begins.
- Check for square by measuring both diagonals; readings within 1/8 inch mean the opening is square.
- Measure each bay panel separately and record the interior angle at every panel junction.
Table of Contents
- Window Measuring Tools You Need Before You Start
- How to Measure Standard and Non-Standard Windows: Step by Step
- How to Measure Arched Windows for a Custom Fit
- How to Measure Angled Windows and Triangular Openings
- How to Measure Bay Windows and Other Projecting Shapes
- Glass, Sash, Frame, and Rough Opening: Which Measurement Do You Need?
- Recording Irregular Dimensions and Avoiding Common Measuring Mistakes
- Book a Professional Measure for Your Non-Standard Windows
- Frequently Asked Questions
Window Measuring Tools You Need Before You Start
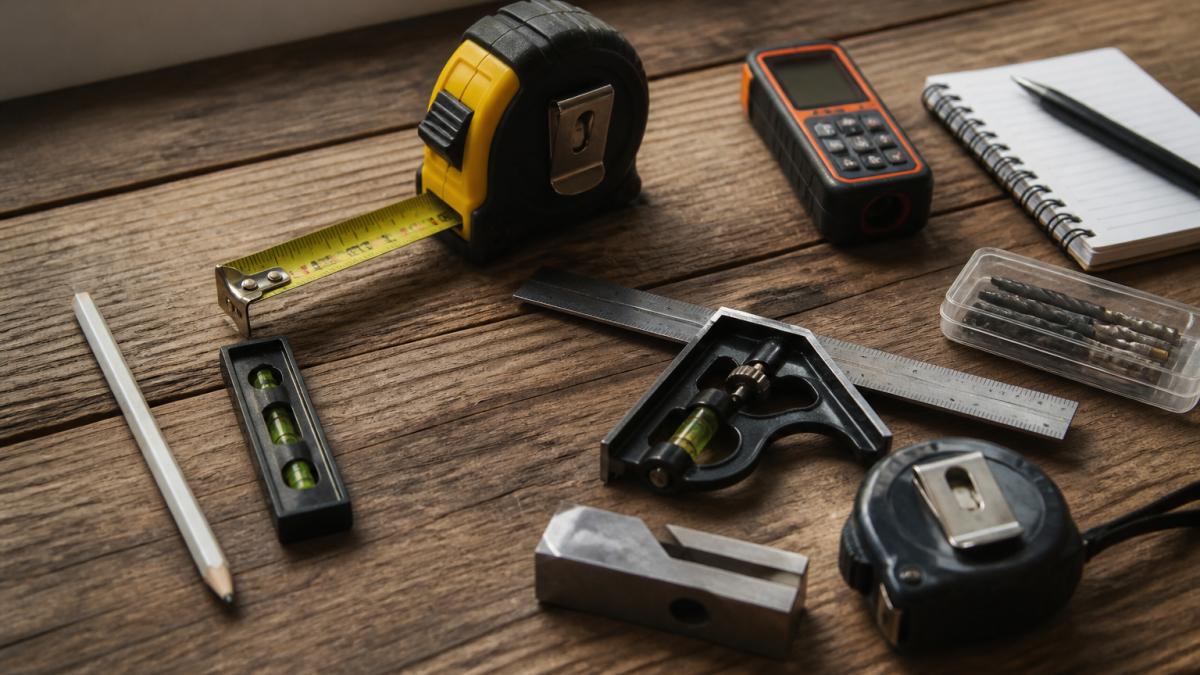
Measuring a non-standard window starts with the right gear, not guesswork. A cheap tape and a good pencil beat an expensive mistake.
- A steel tape measure at least 25 feet long, with clear markings down to 1/8 inch
- A stiff straightedge or yardstick, useful for checking whether a sill is level
- A notepad and pencil, one page per window
Cloth tapes can stretch, and a stretched tape gives you a wrong number. According to consumer guidance from the National Institute of Standards and Technology, accurate length measurement depends on a calibrated tool, and a sagging cloth tape is the classic culprit.
Label each page with the room and window position before you measure anything.
How to Measure Standard and Non-Standard Windows: Step by Step
The core method for non-standard windows is the same as for standard ones: measure width and height in three places each, then use the smallest number. Irregular shapes add extra steps on top of that base.
Below are the four steps that cover most rectangular openings, standard or not.
Step 1: Identify Your Measurement Points
Measurement points are the exact spots on the window frame where your tape starts and stops. For an inside mount, measure jamb to jamb for width and sill to head for height. For an outside mount, measure the frame's outer edge plus any trim you want covered.
Mark each point with painter's tape so every reading comes from the same place.
Step 2: Measure Width at the Top, Middle, and Bottom
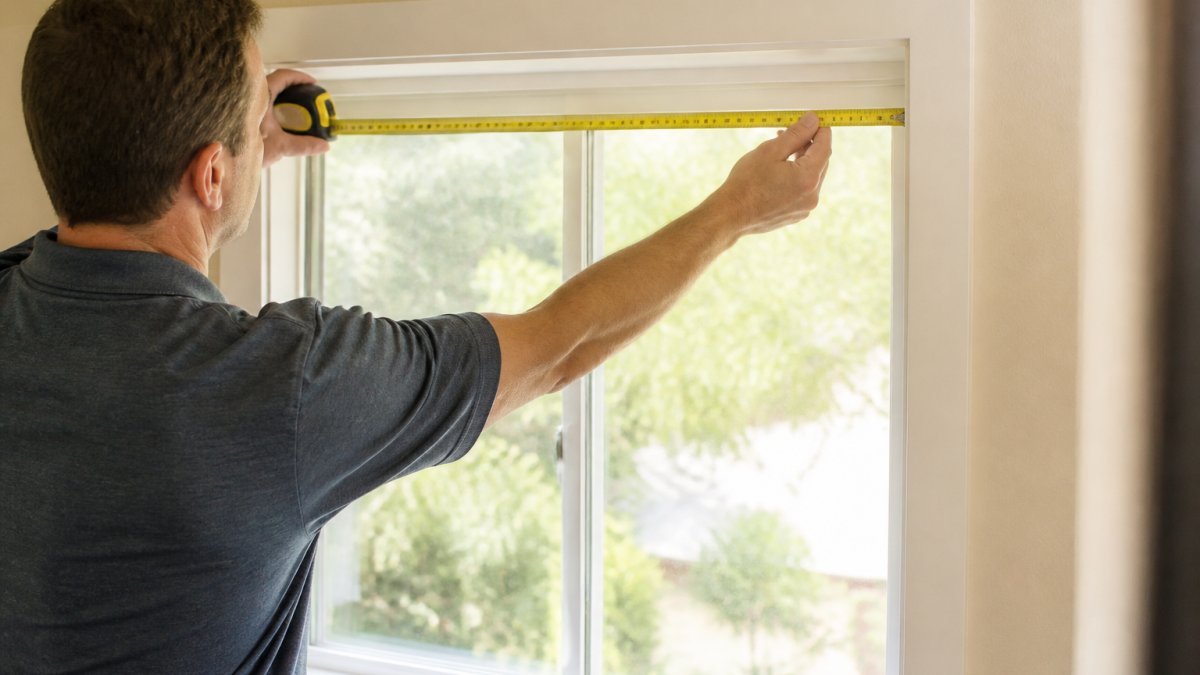
Pull the tape across the window opening at three heights: near the head, at the middle, and near the sill. Write down all three numbers.
Older houses often have openings that are not square.
Step 3: Measure Height at the Left, Center, and Right
Now run the tape vertically at the left jamb, the center, and the right jamb, from sill to head. Record each reading to the nearest 1/8 inch.
Watch for interior stops, the small strips of wood that hold a blind inside the frame. If they stick out, your depth measurement changes and an inside mount may not clear them.
Step 4: Use the Smallest Measurement and Round Down
Take the smallest width and the smallest height from your readings. Round down to the nearest 1/8 inch. Never round up.
This one rule prevents most fit problems. A blind cut slightly small still works; one cut slightly large does not go in the opening at all.
For a fuller walkthrough with diagrams, see our guide on how to measure windows for custom blinds.
How to Measure Arched Windows for a Custom Fit
Measuring an arched window means capturing the width, the height at the center, and the spring line, the height where the curve begins. Those three numbers let a manufacturer build a covering that follows the arch.
Here is the sequence:
- Measure the full width across the widest point of the arch
- Measure the total height at the center, from sill to the top of the curve
- Measure the height at the left and right edges, where the straight sides end
- Note the radius if the arch is a true half circle
Trace the arch onto paper if you can. A paper template removes all doubt about the curve's shape, and most fabricators accept one.
How to Measure Angled Windows and Triangular Openings
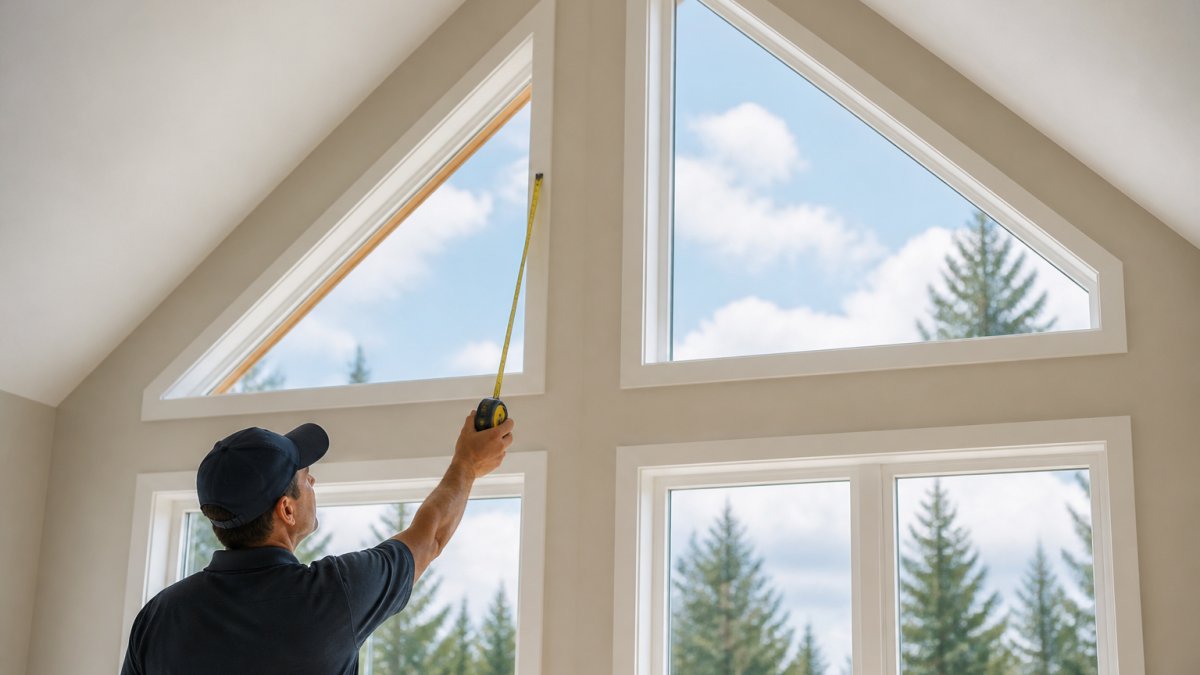
Angled and triangular windows are where a rectangular measuring habit fails hardest. A triangle has three edges and three angles; a trapezoid has four of each. Measure all of them rather than assuming symmetry.
Measure every edge, in order around the shape
Start at the base and work clockwise. For a triangular window, that means the base width, the left slant, and the right slant.
Do not assume the two slants match. In older construction, a window that looks isosceles can differ by 1/4 inch or more from side to side, showing up as a visible gap along one edge of a shade.
Capture the angles, not just the lengths
Lengths alone do not define an angled opening. You also need the interior angles where the edges meet. Two practical ways to get them:
- Digital angle finder. A magnetic angle finder or a digital protractor placed in the corner reads the angle directly to the nearest 0.1 degree. This is the most reliable method for trapezoids and polygons.
- Slope method with a level and tape. Hold a 12-inch level against one slanted edge, measure the vertical rise over that 12-inch run, and record the rise. A fabricator can convert rise-over-run to an angle.
Record angles at every corner. On a five-sided or hexagonal opening, a single misread corner throws off the whole template.
Check for square with both diagonals
Measure corner to corner in both directions. If the two diagonal readings match within 1/8 inch, the opening is square. If they differ, record both numbers, the fabricator needs to know the opening is out of square before cutting.
Trace a template for any shape that is not a simple triangle
For trapezoids, pentagons, hexagons, and any opening with more than three corners, a paper or cardboard template removes guesswork. Tape builder's paper or thin cardboard across the opening, press it into the corners, and trace the inside edge of the frame. Mark the top, label each edge with its measured length, and note the angles at each corner.
Most custom fabricators accept a template and prefer one for irregular shapes. A template plus a labeled sketch beats a list of numbers alone.
Record the numbers in a shape-specific table
For each angled window, build a small table with one row per edge and one row per corner:
| Edge | Length (in) | Corner | Angle (degrees) |
|---|---|---|---|
| Base | 48 1/8 | Bottom-left | 62.5 |
| Left slant | 39 3/4 | Top | 55.0 |
| Right slant | 40 1/4 | Bottom-right | 62.5 |
That table, plus the sketch and the template, gives a fabricator everything needed to build a covering that follows the actual opening.
How to Measure Bay Windows and Other Projecting Shapes
Bay, bow, corner, and angled projecting windows are assemblies, not single openings. Treating a three-panel bay as one rectangle is the most common measuring error we see, producing coverings that bind at the corners or leave gaps at the returns.
Measure each panel separately, then measure the relationships between panels. Both sets of numbers matter.
Measure each panel like a standalone window
For every panel in the assembly, take the same three width readings (top, middle, bottom) and three height readings (left, center, right) you would take on a flat window. Record the smallest width and smallest height for each panel, rounded down to the nearest 1/8 inch.
Label the panels in order, left, center, right for a three-panel bay; left through right for a bow with four or more panels. Keep labels consistent on every sketch and table.
Capture the projection depth
Projection depth is the distance from the wall plane to the outermost face of the window. Measure it at the center panel and at each side panel, because older bays sometimes project unevenly.
You need two depth numbers per panel:
- Wall to glass. The distance from the interior wall surface to the glass. This determines whether an inside mount has enough clearance.
- Wall to frame face. The distance from the wall to the front face of the frame or trim. This determines the outside-mount overlap and how far a valance or shade will project into the room.
Measure the angle between panels
Use a digital angle finder or the rise-over-run method described in the angled-window section. Place the finder in the corner where two panels meet and record the interior angle.
Record the angle at every panel junction. On a bow window with four or more panels, that means three or more readings, and they will not all be identical.
Sketch the assembly from above
A top-down sketch is the single most useful page you can hand a fabricator. Draw the wall line, then each panel at its measured angle, and label every panel with its width, height, and depth.
A top-down sketch answers questions a list of numbers cannot: which panel is the center, which way the assembly projects, and how the panels relate to each other.
Watch for adjoining openings and returns
Corner windows and angled bays often share a mullion or a return wall with a neighboring window. Measure the return width, the short wall segment between the window and the adjoining wall, and note whether trim wraps around the corner. If you plan an outside mount that spans two panels, the return and the mullion width determine whether the shade can be mounted as one unit or must be split.
Record the assembly in a panel table
Build one table per bay or bow, with a row for each panel and a separate row for each junction:
| Panel | Width (in) | Height (in) | Wall-to-glass depth (in) | Wall-to-frame depth (in) |
|---|---|---|---|---|
| Left | 24 1/8 | 58 3/4 | 6 1/2 | 8 1/4 |
| Center | 36 1/4 | 58 3/4 | 7 1/8 | 8 7/8 |
| Right | 24 1/8 | 58 3/4 | 6 1/2 | 8 1/4 |
| Junction | Interior angle (degrees) |
|---|---|
| Left to center | 135.0 |
| Center to right | 135.0 |
That table, plus the top-down sketch, gives a fabricator the panel-by-panel and junction-by-junction detail needed to build coverings that fit the actual assembly.
If you plan to mount blinds outside the frame on a bay, our guide on how to measure for outside mount blinds covers the added overlap you need.
Glass, Sash, Frame, and Rough Opening: Which Measurement Do You Need?
**Glass is the visible pane. The sash is the moving or fixed frame holding the glass. The window frame is the outer structure around the sash.
Which one you measure depends on the job:
| Measurement | What it covers | When you need it |
|---|---|---|
| Glass | Visible pane only | Rarely, for film or glass-only products |
| Sash | Frame around the glass | Inside mount blinds that clip to the sash |
| Window frame | Full frame, jamb to jamb | Most inside mount blinds and shades |
| Rough opening | Wall gap, stud to stud | Replacement window sizing only |
For blinds and shades, the window frame is almost always the right reference. Rough opening numbers belong to replacement window orders, not to window coverings.
Recording Irregular Dimensions and Avoiding Common Measuring Mistakes
A clean record sheet prevents most ordering errors. Give each window its own page with a simple sketch, then list width and height readings in the order you took them.
The mistakes we see most often:
- Rounding up instead of down. Always round down to the nearest 1/8 inch.
- Measuring one spot only. Measure three spots for every dimension.
- Forgetting depth. Inside mounts need the space between glass and trim.
Keep your notes and sketches together in one folder. Our frequently asked questions page answers common questions about measuring and ordering.
Book a Professional Measure for Your Non-Standard Windows
Some windows are worth handing off. Arched, angled, and bay openings can be tricky to measure, and a second set of eyes costs far less than a reorder.
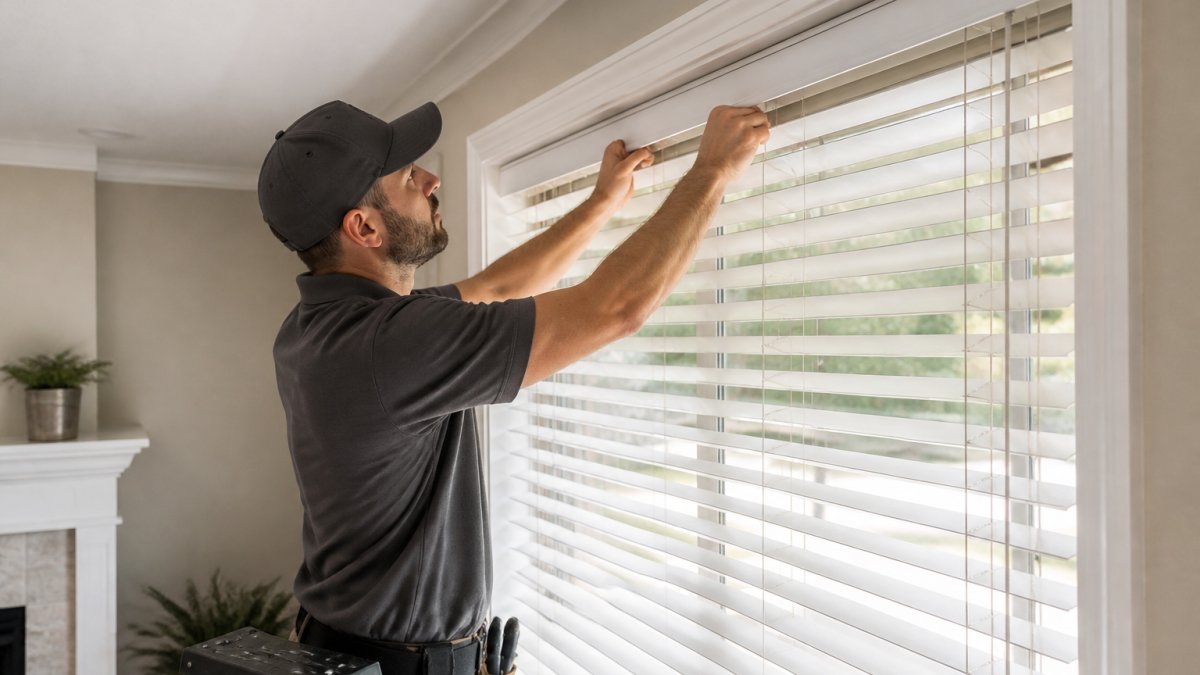
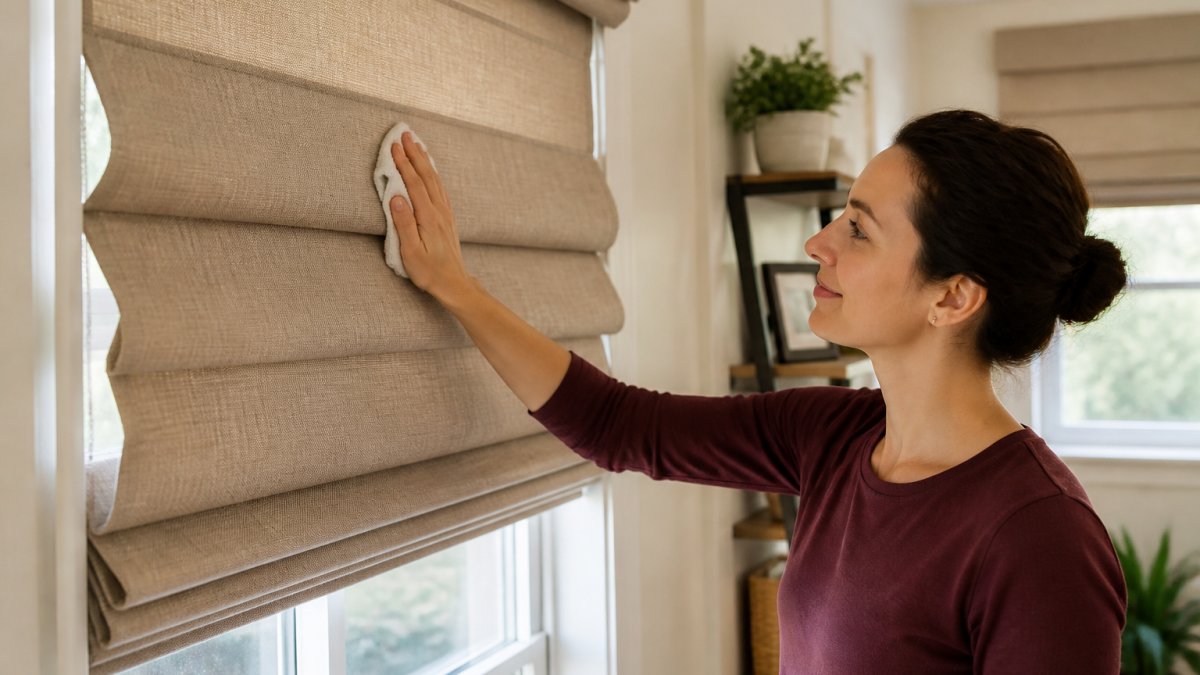
We offer roller, wooden, cellular, and Roman shades, tailored to your windows and style needs.
If your windows are tricky, contact us to discuss your options and ask about our installation services. When you are ready to see the options, browse our window coverings to match a style to each room.
Frequently Asked Questions
How do you measure an irregular-shaped window?
Measure the width at the top, middle, and bottom, and the height at the left, center, and right. For arched or angled shapes, add the radius or diagonal measurement and sketch the opening on paper. Record every reading to the nearest 1/8 inch and use the smallest width and height when ordering. A professional measure is wise for complex shapes because small errors in non-standard windows can cause light gaps or a poor fit.
What tools do you need to measure a non-standard window?
You need a steel tape measure, a straightedge or level, a pencil, and a notepad or template. A helper can stabilize the tape on wide bay windows, and a flexible ruler or contour gauge helps trace an arched or angled shape.
Should you measure a window in more than one place?
Yes. Measure the width at the top, middle, and bottom, and the height at the left, center, and right. Older homes often have out-of-square openings, so the readings can differ by 1/4 inch or more. Use the smallest measurement and round down to the nearest 1/8 inch. This approach keeps blinds and shades from binding or leaving gaps, especially on non-standard windows.
How do you measure an arched window for blinds?
Measure the width at the base of the arch and the height from the sill to the highest point of the curve. For a half-round arch, also measure the radius by dividing the base width in half. Note whether the arch sits above a rectangular section or forms the whole opening. Share a sketch with your window covering provider so the custom sizing accounts for the curve and any interior stops.
Old windows with odd sizes do not have to mean light gaps and rattling blinds. Towersunitedblinds measures, supplies, and installs custom coverings across the area, with roller, wooden, cellular, and Roman shades fitted to your actual openings. Get started with Towersunitedblinds and give every window a covering that fits the first time.